How to get started with astrophotography

Intro
I will never forget the first time I saw our Milky Way galaxy with my naked eyes - it was truly a sight to behold. Since then, I've been smitten by the astrophotography bug. The artist in me tries to capture and portray the beauty of the night sky to inspire everyone to witness it first hand.
If you're interested in capturing photographs of the Milky Way, then read on - I've compiled information from my experience that you might find useful.
Technical challenges - brightness, sharpness, and noise
Photography is all about capturing light. Stars are very weak sources of light. To create a bright and sharp image of the night sky, we need to capture as much starlight as possible. Using modern digital cameras, this can be done in 3 ways:
- Long exposure i.e. keep the shutter open for as long as possible.
- Use a lens with a large opening (aka aperture) to take in as much light as possible.
- Increase sensitivity of the sensor (aka ISO).
The first two points are worth discussing. Increasing ISO introduces noise, so you'd want to keep it as low as practically possible.
Shutter Speed
A longer exposure time means more light, which means better images. But there's an upper limit on this for a couple of reasons:
- Longer shutter speed makes our image blurry because stars are moving (albeit very slowly).
- Longer shutter speed also makes our image noisy because the sensor gets heated up.
A good rule of thumb often mentioned in photography circles is the 500 rule, which recommends that your shutter speed be equal to 500 ÷ Focal Length. However, I used to notice blurring of stars at this number, so I often use a shorter shutter speed (think the 300 rule).
Aperture
Since f/stop = focal length / diameter of aperture, you should shoot at the lowest f/stop number that your lens permits i.e. shoot with your lens wide-open. A caveat here is that performance of lenses degrades at extreme f/stop values, so to get a sharper image, you can choose to go slightly higher. For example, with my 85mm f/1.8 lens, I often shoot at f/2.
Equipment required
"The single most important component of a camera is the twelve inches behind it." - Ansel Adams
Any experienced photographer will tell you not to fret too much about the equipment in the beginning. That's for good reason - you can learn the basics and make a lot of progress with starter equipment.
Camera body
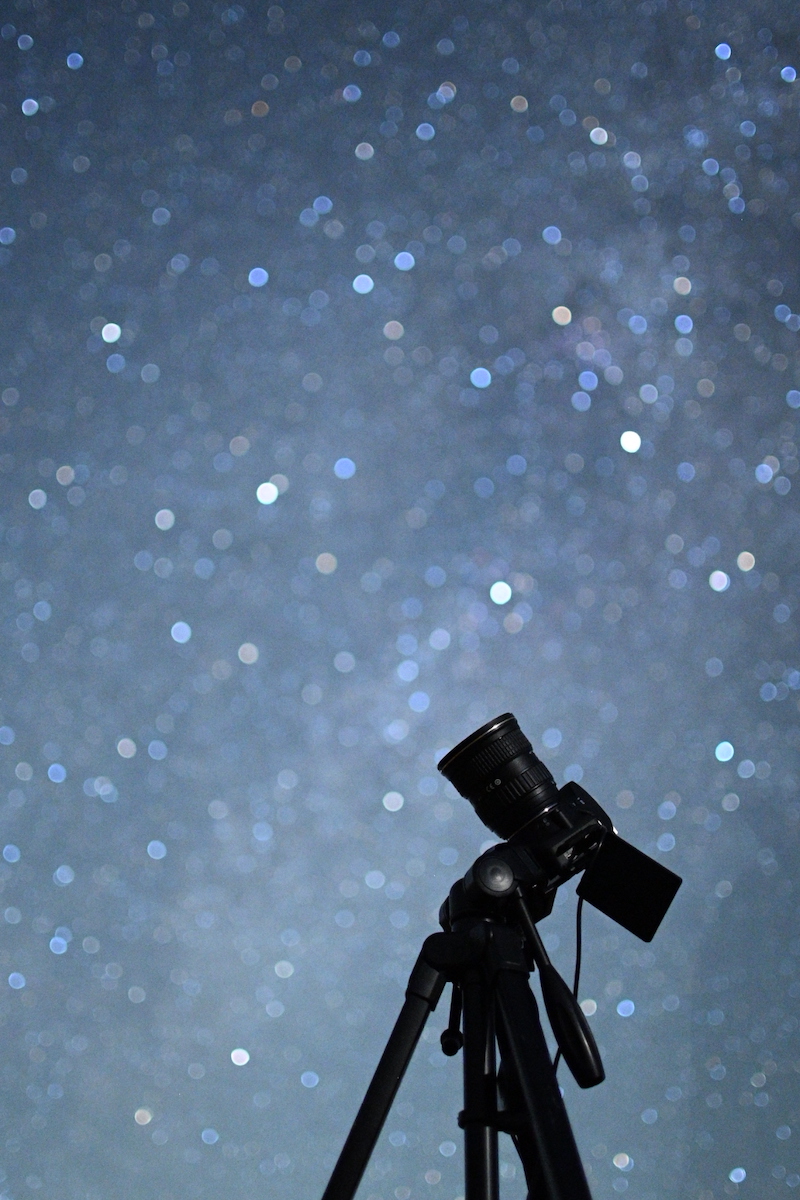
Any DSLR or mirrorless camera will do, really. All you need to ensure is that your camera allows you to shoot in RAW and use a timer or remote shutter.
Full-frame vs crop sensor
Full-frame cameras cost more than crop sensor cameras and are absolutely not a necessity if you're just getting started.
I upgraded to a full-frame camera later on mainly because I wanted to increase the field of view (FoV) of my shots. However, you can achieve this by creating a panorama from multiple shots in post-processing if you're determined enough.
Lens
Your lens is the piece in your equipment kit that will likely have the most impact on the quality of your captured images, much more than the camera body. I recommend investing in quality optics.
Focal Length
I recommend using a wide-angle lens (25mm or shorter) for capturing the night sky along with the landscape. This is often the lens of choice for Milky Way shots. A shorter focal length will also allow you to shoot for a longer shutter speed without getting noticeable blurring.
As you gain more experience, you can look into slightly higher focal lengths eg. 50mm or 85mm. Longer lenses have a larger physical aperture area at the same f/stop value - this means that they let in more light from a fixed cross-sectional scene area for the same exposure time. This means that you can capture more nebulous details from stars. As a downside, you'll need to reduce your shutter speed.
Maximum Aperture
It's really important to have a lens that has a large maximum aperture (or small minimum f-number). I recommend picking up a lens that goes at least as low as f/2.8 (f/1.8 is even better).
Prime lens vs Zoom lens
Prime lenses are quite popular in astrophotography because of their superior sharpness and the fact that they are available in high maximum apertures like f/1.8, f/1.4, etc. On the other hand, zoom lenses provide more flexibility for general purpose photography. If going the zoom lens route, make sure to get one with a constant aperture eg. 24-70mm f/2.8.
Tripod
Obviously.
Tracker
After you've done wide-angle night sky photography for some time and are comfortable with the basics, using a star tracker is the most ROI step you can take to elevate your shots to the next level.
A star tracker rotates your camera with the same rotation speed as the sky, which means the sky becomes stationary with respect to the camera. This allows you to use much longer exposure times without having to worry about blurring - hence, you can use f/stop and ISO values to your choice as well to get noise-free, clean images.
This comes at a cost of increased complexity, however. You'll need to spend a couple minutes setting up the tracker correctly and then a little more time in post-processing to merge sky and ground shots (now the ground would be blurred!).
Planning the shot
A few minutes of planning before you go out can save you from a lot of frustration later. First off, you need to find your shooting location - a place which has dark skies, away from the light pollution of cities. Ideally a Bortle class 1 or 2 area (which are becoming rarer by the day). Sites like https://darksitefinder.com/ can help.
I must stress that this is really one of the most important parts because a dark sky location will allow you to capture faint Milky Way details and get a clean shot. This often means driving away from civilization into forests, so plan wisely. Make sure you pack the basics - batteries, food, water, etc. (speaking from personal experience).
The next most important thing is to plan around Moon phases. When the moon is up, you won't be able to see the Milky Way and fainter stars. You want to shoot when there is no moon in the sky - on new moon nights or before moonrise and after moonset. I use the app Photopills for this.
Post-Processing
This is the part I don't love the most. Shooting in RAW means that your camera captured all the nice details when you were out there in the field, but you'll need to spend a few minutes bringing them out. As with everything else, learn the necessary stuff gradually and in no time, post-processing would become just another step in the shooting workflow.
Outro
Lastly, when you're out there shooting, don't forget to look up and enjoy the sight. Dark skies have become rare these days - only two-thirds of humanity can see the Milky Way. Plan your stargazing or photography trip and have fun!
Thanks for reading. I would love to hear your thoughts about this article. Connect with me on Twitter.
